
Part 3 of my adventures in Mata Ortiz Mexico back in 2018. Enjoy!
I knew I shouldn’t have waited so long to wrap up the account of my trip to Mata Ortiz Mexico! So much has happened over the summer. And I am squarely into the fall and all Fall Craft Markets! Thank you so much to everyone who joined all of us makies at the Make It 10 year anniversary craft market at the Croatian Centre in Vancouver last week. It was so much fun. And really nice to talk to many of you. One of you even commented on reading about my trip to Mata Ortiz! I love it!
When I last wrote I was building a pot in the beautiful mountains of Chihuahua, and we had learned where to dig and how to process the amazing clay of Mata Ortiz. Next comes the really interesting part; learning how the distinctive finish of the Mata Ortiz pottery is created.
The teacher Diego had another potter in town make several pots that were already dry – also known as ‘bone dry’. We learned the finishing technique on these already made pots. The reason for this was a few fold. Firstly, our pots would take a few days to dry, and we simply did not have time to wait. Another reason is because if there is as much as a tiny air pocket in a pot, it could explode in the firing (baking) of the pot. Not only destroying your pot, but anyone else’s nearby! As this was the first time many of the workshop participants had ever worked with clay, the chances of no small air pockets may be considered optimistic. And, why not have us work on a nice smooth ‘canvas’ while passing the love around the whole town by buying the ‘Greenware’ (un-fired or not yet baked clay) from another local potter.
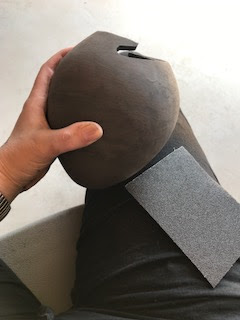
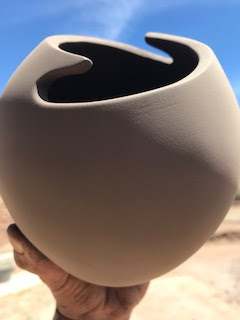
We started sanding. Yup, with just regular sandpaper. First course, and then finer and finer grits, until the pot was absolutely egg-shell perfect. Green ware is very VERY fragile – so the process is very calm and meditative. It is very like sanding, or caressing, without cracking, a hollowed egg shell. Again, a day passed with the cadence of musical Spanish, this time with the rhythmic swish of all of us sanding our beautifully shaped egg like pots.
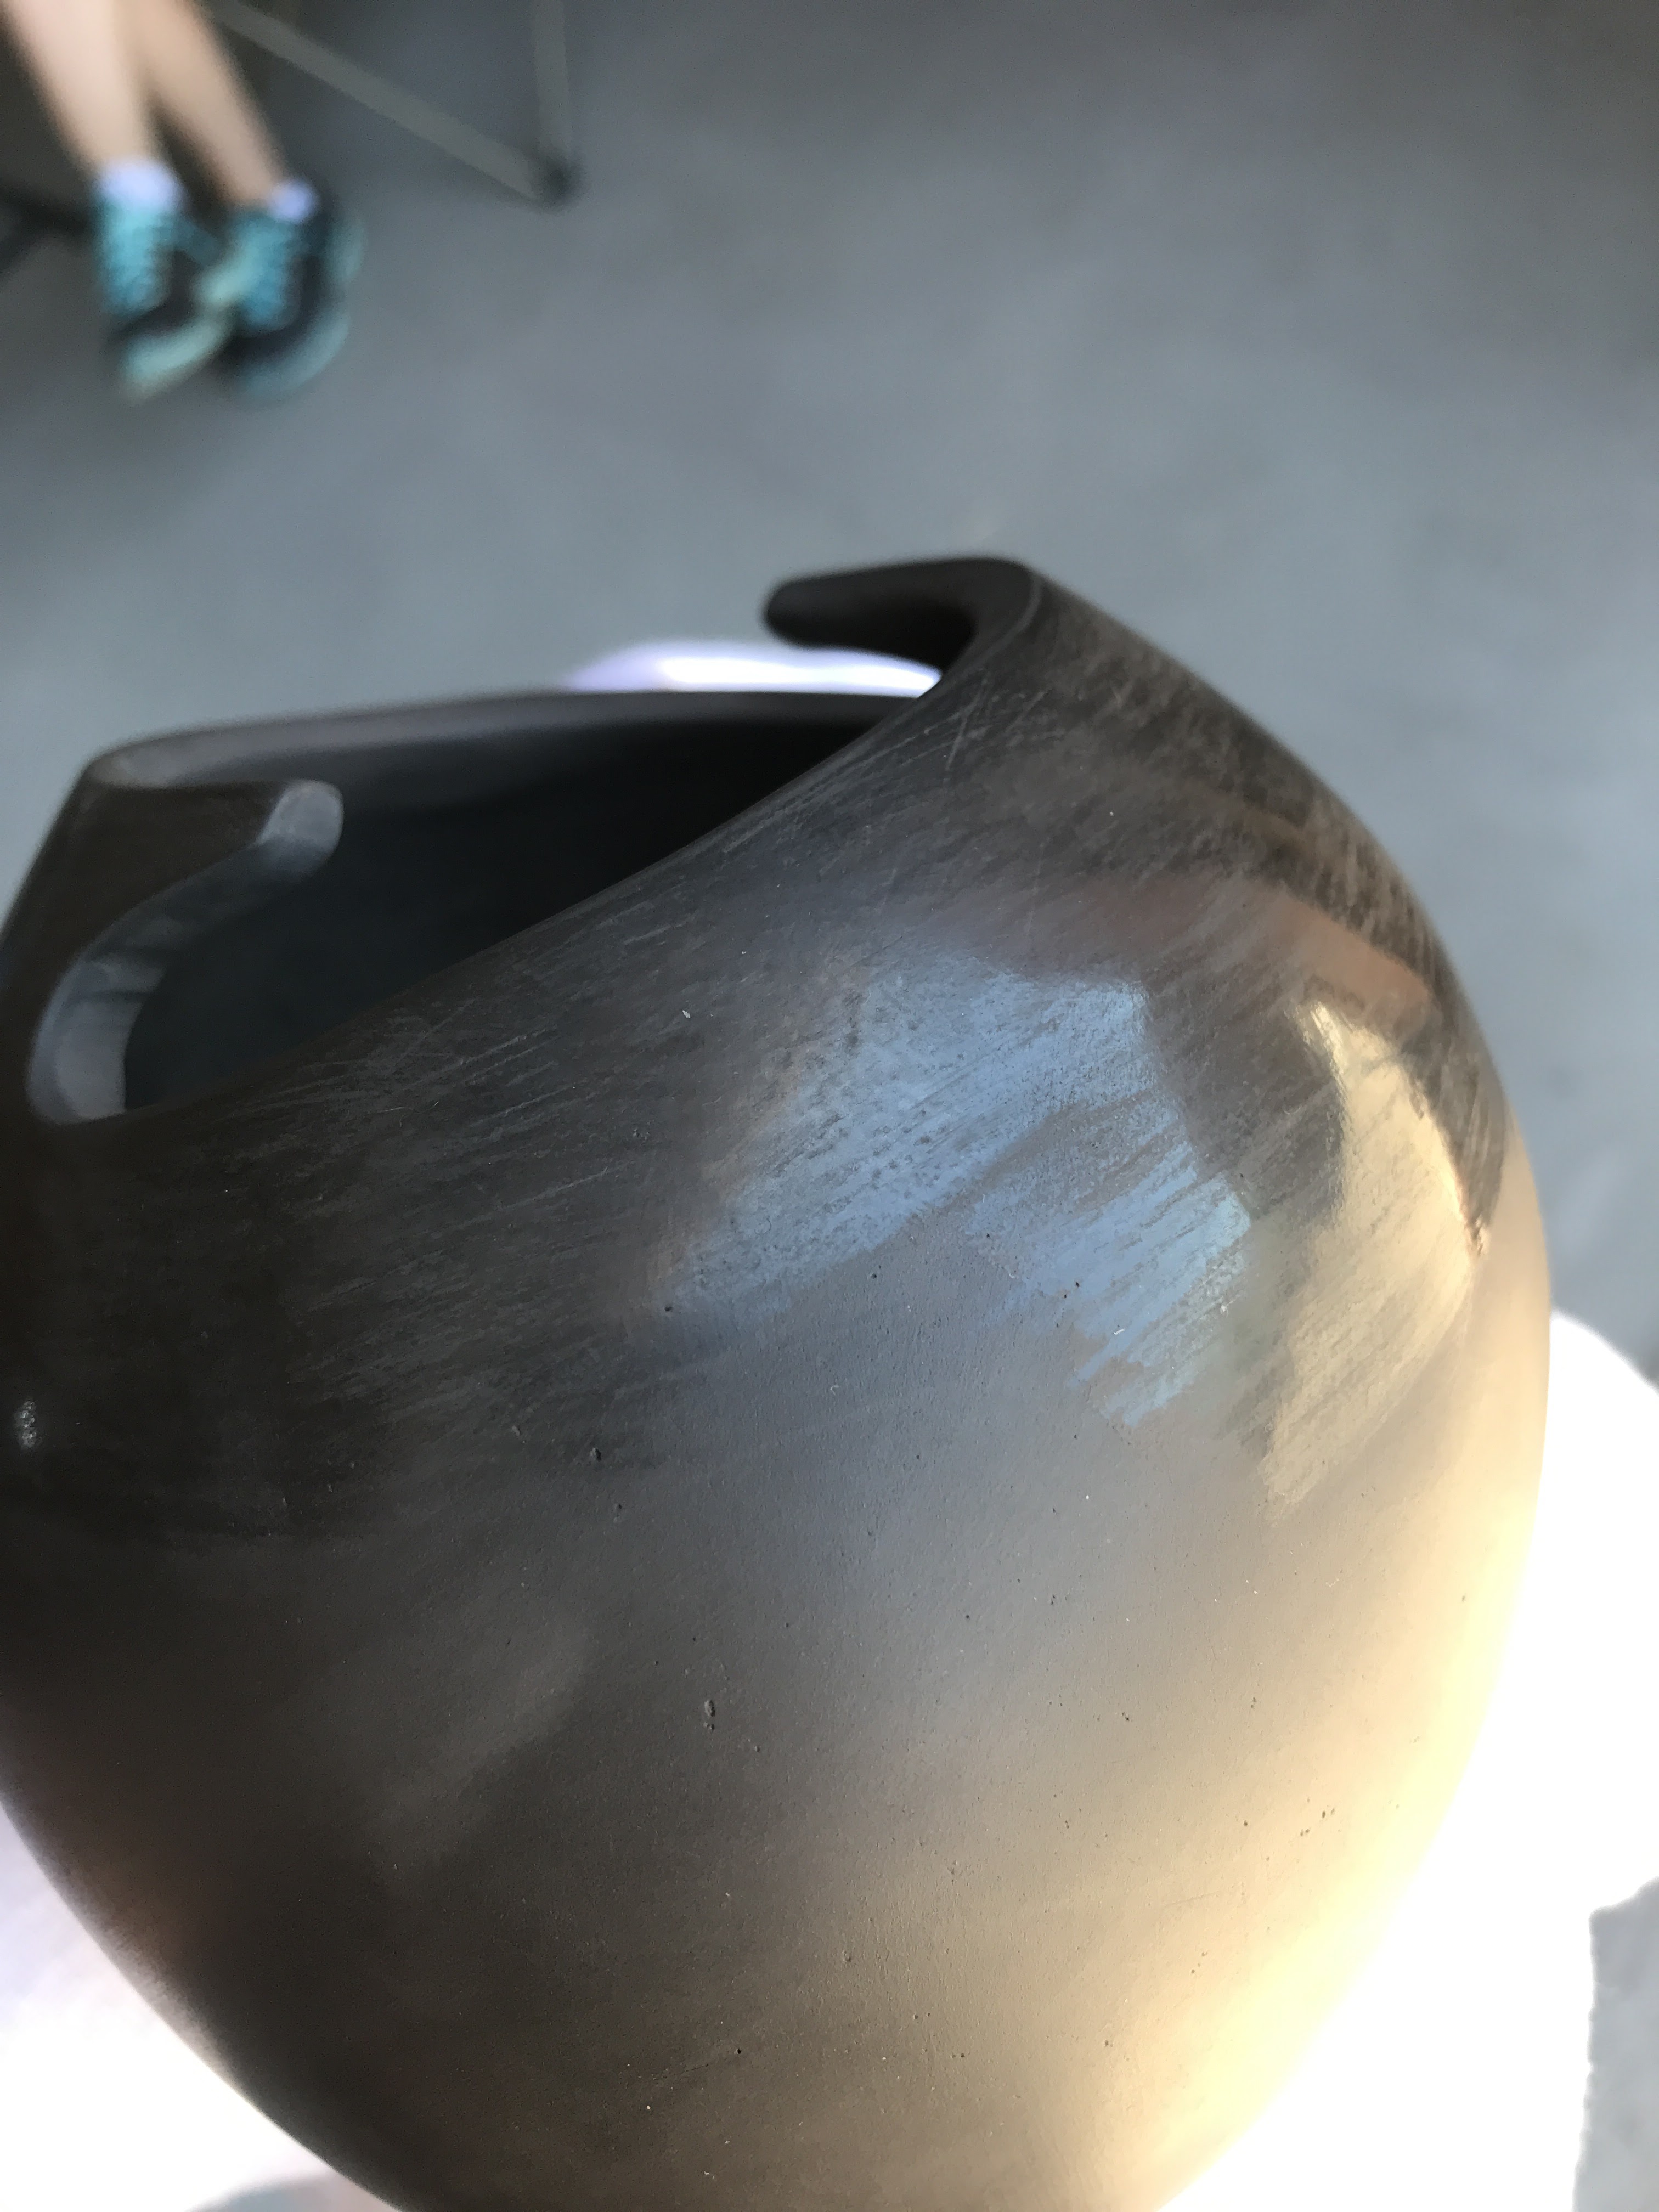
When the pots have been sanded to the very finest grit, the pots are oiled. Diego used furniture oil, but basically any thin mineral oil would do. The pots are left to soak up all the oil, until they look ‘dry’ again. Then more oil, and again dried. After that the polishing begins. A small dab of water on the surface of the clay, and at just the right amount of dry but still a little moist, the pot gets polished with a very smooth stone. This happens in very small patches, because if you wet too big of an area, you cannot get it polished before it dries to much. Dab water, polish. Dab, polish. This process is called ‘Burnishing”. Wis polishing or burnishing of the pot almost negates the need for glaze. (The glaze is the glassy coating most of us are used to seeing on pottery. It literally is glass and minerals melted onto the clay pot). In Mata Ortiz pottery the pot is not glazed, its sheen is very highly polished clay.
This is a very tedious process. But it cannot be skimped on. If you polish unevenly, it will show in the final finished piece. And even our warm fingerprints could scratch the highly polished surface! We were each given a piece of very soft flannel to hold our pots with so we never touched it with our bare hands. Ever, again! Whew!
Wow! I thought I’d have this trip to Mexico down on ‘paper’ in 3 parts! No way! Next part will be about the decorating, or painting the distinctive patterns on our pots. And then the exciting firing process.
Again, Thanks so much for your interest in my pottery! I’ll definitely be at the Make It sale in December. But I’m pretty sure I’m going to be at a few other sales between now and then. Stay tuned!